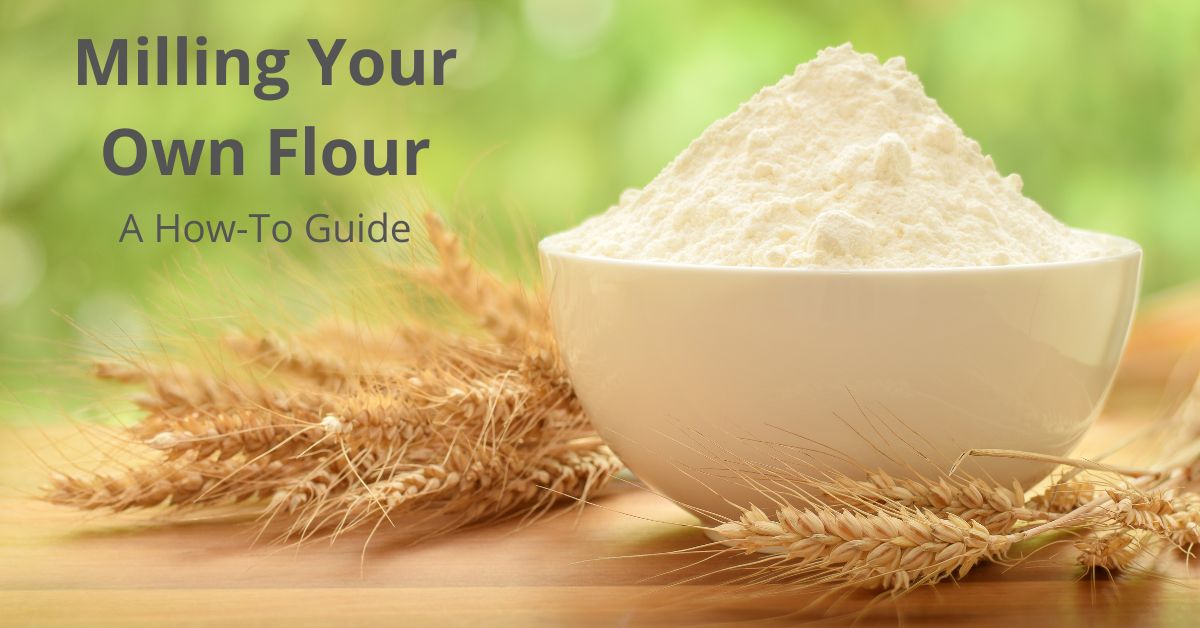
Have you considered milling your own flour at home? With the rising popularity of home baking and concerns over commercially milled flour quality, more people are discovering the joys of DIY flour milling. Read on for a beginner’s guide to milling your own flour at home.
Why mill your own flour?
- Milling your own flour from whole grains offers several benefits:
- Control over flour freshness – home-milled flour hasn’t sat around getting stale
- Better nutrient retention – milling right before baking helps retain nutrients like oils and enzymes
- Cost savings – mill your own for a fraction of store-bought flour prices
- Customize coarseness – fine pastry flour or coarser artisan bread flour
- Accommodate allergies – avoid additives by milling your own
Choosing a Home Grain Mill
From electric grain mills to manual stone mills, there are several options for home flour milling:
- Electric Grain Mills: Fast and convenient, electric mills provide push-button milling. Great for frequent baking.
- Waldner Grain Mills: Iconic Austrian-made mills with durable stone burrs produce very fine flour.
- Mockmill Grain Mills: German-made stone burrs to mill cool and preserve nutrients. Mockmill 100 is an affordable electric option.
- Stone Grain Mills: For a traditional approach, manual stone grain mills, or hand grain mills, attach to counters via a clamp. Operate the mill manually with a hand crank for slower but classic milling.
Tips for Milling at Home
Once you’ve selected a home grain mill, keep these tips in mind:
- Start with hard wheat grains with ~12% protein, like hard white or red wheat berries. Lower-protein wheat won’t have enough gluten.
- Condition grains by cleaning and storing them in an airtight container for 48 hours to toughen.
- Mill in small batches for a cooler, slower grind that preserves nutrients.
- For whiter flour, use chilled or frozen grains prior to milling.
- Adjust settings from fine pastry flour to coarser bread flour.
- Clean mill regularly to prevent buildup affecting flour taste.
Now get milling!
The joy of biting into a fresh loaf of homemade bread made with your own milled flour is unmatched. With so many quality mill options available today at different price points, it’s easier than ever to start milling your own flour at home. Experiment with different grains and mill settings until you create your ideal flour. Get creative with custom flour blends tailored to your baking needs. Your family and friends will surely take notice of your scrumptious creations.